I am finally done with a blanket! This blanket is for friends back in my home state for their baby girl, born at the beginning of summer ^_^; I had a bout of tendinitis in the spring and beginning of summer. So I'm backlogged multiple blankets, but at least I've got one done!
Since this was a summer baby, and these friends are so summery themselves, I went with a flower blanket design. Also I found out the little girl's room is decorated with ladybugs, so went with a ladybug stuffed animal that I made up as I went along.
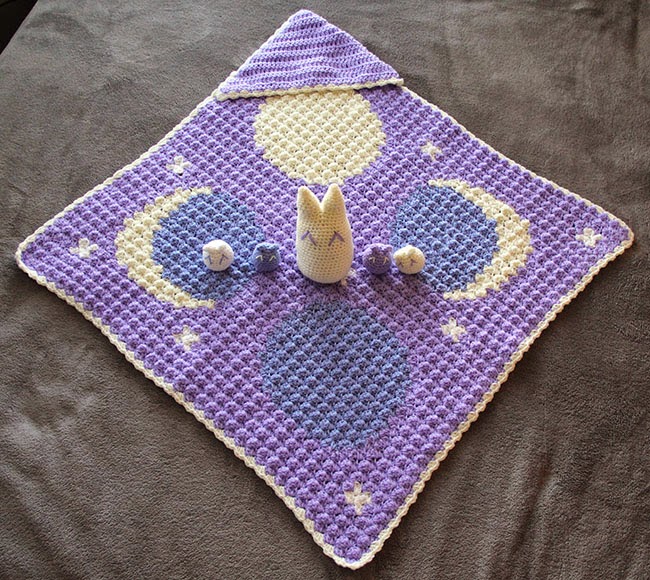
 |
| Flower blanket and ladybug amigurumi |
Main Info
- Size
- Blanket: 28" x 28"
- Ladybug: 4" in diameter
- Time
- Blanket Planning: 2.75 hours
- Blanket Crocheting: 30 hours
- Ladybug Crocheting: 10.5 hours
- Yarn: Lion Brand Yarns - Pound of Love
- Honeybee yellow
- Bubblegum
- Pink
- Turquoise
- Pastel Blue
- Pattern
 |
| Flower blanket pattern |
Thoughts from the process
The design took some brainstorming. The husband offered some suggestions. I tried to sketching some attempts on blank grids. In the end the design was inspired from a
pixel art flower tutorial.
 |
| Brainstorming possible flowers |
I also often consult the husband for the more artistic aspects of my crafts because I honestly have a more craft sense than artistic one. He thought using the bubblegum yarn would be better for the blanket border than the yellow and I'm glad I agreed! The contrast gives it a nice clear finish.
 |
| Hood of the blanket, I like the strong contrasting border. |
I was a little worried about having some places where a diamond of one color was surrounded by different colors. Like here on the big flowers. But
breaking my rule worked out this time. I think it was because I did have diamonds of the one color at least touching by the corner, so I could easily sew in the end.
 |
| Large flower on the blanket |
The ladybug was an interesting first attempt. Though I think it's still cute enough that it's worth sending along with the blanket.
 |
| Ladybug amigurumi |
I "free handed" it in the sense I didn't really write down my plan before starting, though I did take notes.
The hardest part was not making the ladybug look like a tick, a frequent complaint from the husband. I originally had plans for legs, but that just made it worse, so I took them off.
I also originally sewed the first few spots on randomly, but the husband turned out to be knowledgeable in ladybugs and he said they are actually symmetrical! Honestly I fought changing it at first, since I had already done some work, but in the end took them all off and sewed the spots on symmetrically, with many consultations with the husband to make sure they looked right. The line down the middle to mimic the gap between wings was my idea though.
The antenna look a little funny, but I'll live with them. And the face I'm honestly not sure. But better than nothing.
Overall I like the ladybug as my first attempt. But will hold off posting a pattern just yet, so I can tune it some more. One change I already know I'll make is
crochet the body in two pieces. I originally crocheted the bottom and then switched to yellow and crocheted the top. If you look carefully at the picture of the back, you can see where I changed yarn.
I don't like how the change is so obvious. I also never liked how decreasing stitches always seems to leave more gaps than increasing does. The top I think would have been much cleaner if I had crocheted it as a separate piece and then sewed the two together.
 The antenna look a little funny, but I'll live with them. And the face I'm honestly not sure. But better than nothing.
 Overall I like the ladybug as my first attempt. But will hold off posting a pattern just yet, so I can tune it some more. One change I already know I'll make is crochet the body in two pieces. I originally crocheted the bottom and then switched to yellow and crocheted the top. If you look carefully at the picture of the back, you can see where I changed yarn.

Comments
Post a Comment